Sling Installation
Step One: Tools
Hand Tools generally needed to install new slings.
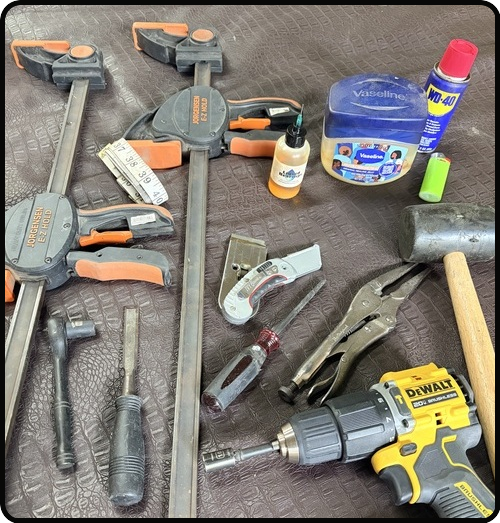
1. Rubber Mallet
2. Vice Grips
3. Flat Head Screwdriver or Chisel
4. Razor Knife
5. Cloth Tape
6. Lubricant (Petrolium Jelly, WD-40, Liquid Bearings), Soapy Water will work well for removing the old fabric.
8. Snips or Wire Cutters
9. Battery Drill or Socket set
10. Some form of Spreading Tool or Tools, click the "LINKS" page, for more examples
Step Two: Removing End Caps

Carefully remove the end caps with a flat head screw driver.
If you break one, (they may be brittle) don't worry. We can send new parts with the order.
Most end caps come in white or black.
Send a Picture of the Furniture and Parts to
Our Available Parts can be Found Below.

NOTE: The "TRACK" of the frame can be seen in the above picture.
The screwdriver is leaned up against it, with the other end being on the plastic end cap.
We will refer to the track later.
NOTE: Most slings have Stable Lengths and Widths, but occasionally we work on Tapered, Trapoiziodial, and Curved Back Sets.
These sets will need intact templates shipped to us at:
Slingmasters
1467 Academy Church Road
Jefferson, Ga 30549
These are more diffcult to make and install.
On your Order, put "See Template" in the measurment section.
STEP THREE: OLD SLINGS "BYE-BYE"

Carefully cut down the center of the old sling fabric with a razor knife or similar.

Pull the sides of the old sling material back and forth, left and right. You may hear a Cracking sound.


Spray some soapy water down the tracks, in the side rails, to help if needed, this will make the next move far smoother.


Let the soapy water set for a few minutes. You may need to use a flat head screw driver and stick it between the fabric and rail to further help loosen the old sling material from the frame.
Use the pliers/vice grips to help pull the old sling out of the track.
It may help to have a partner for this move.
Push Down from the top and Pull Out from the bottom.


STEP FOUR: MEASURING
All measurements should be round up to the nearest 1/8″, 1/4", 1/2" or Whole Number (no 1/16" please)
Use a cloth tape to get us the length. Start from the top, at the very end of the metal frame, and follow the contour of the furniture's side rail, to the bottom end of the metal frame. Do not include the plastic of the end-caps in the measurment.

Make sure the measure tape does not slip!!
If you need to, secure the measure tape down at the top and middle of the frame with blue painters tape or similar.

"CONTACT US" if you have any Questions
SEND PICTURES TO THE ADDRESS BELOW:
All measurements should be round up to the nearest 1/8″, 1/4", 1/2" or Whole Number (no 1/16" please)
Measure the Width, from Middle of the Track on one side, to Middle of the Track on the other side of the chair. Inside Track to Outside Track will also work. Remember to round up.
It is Best to Take the Measurements Where the Side Rails are Bolted to the Frame
-For Welded Frames, add a 1/4" to the width measurment, email with questions.
Take Multiple Width measrments at the bolted in areas, to ensure straightness.
Here in the shop we are usually working on pieces that are between 15" and 24" wide.

THIS NEXT PART IS IMPORTANT
-All Sales Are Final (custom fabric is made to order)
-Remember to Measure Twice
-Slings will be the size ordered or slightly over and stretched to fit
-For Welded Frames, add a 1/4"
"CONTACT US" if you have any Questions,
OR SEND PICTURES TO THE ADDRESS BELOW:
STEP FIVE: NEW SLINGS
Insert the provided nylon spline into the new slings. We cut the spline to match the length of the slings with a little left over. Keep this in mind if you have different sizes in the order.

Spline rod should stick out of both ends of the sling.
Do not trim the excess spline until the end, before reinstalling the endcaps.

AS A NOTE:
OVER THE YEARS, MANY FURNITURE SETS HAVE BEEN ABLE TO BE INSTALLED SIMPLY. THIS CAN BE DONE BY LOOSENING THE BOLTS TO THEIR MOST STABLE OUTWARDLY POSTION, THEN SIMPLY SLIDING THE SINLG ON, USING THE PLIERS, GRIPPING ON THE SEAM.
GET THE SLING POSITIONED, THEN USE YOUR TOOLS TO TIGHTEN BACK UP THE BOLTS AND TENSION BARS.
THIS METHOD IS POTENTIALLY MUCH FASTER ONCE MASTERED.
That being Said:
THE ORIGINAL METHOD IS AS FOLLOWS
Insert the new sling into the track on the side of the furniture frame.
It may Help to wiggle it around a bit, to get started. The seam on the top and bottom of the slings make that area a bit thicker. Use the pliers or vise-grips to pinch that area if nessessary.

Feed in the new sling from the top, being careful not to snag the fabric on the metal frame. The ends of the metal frame tracks may have sharp interior edges. Occasionally in the shop we will file those interior edges slightly to help with thicker fabrics. Having a partner to pull or push will make the job much easier.

By hand, or using the pliers, grip the new sling material on the seam and pull to the end of the frame, whereas the fabric lines up with the end of the metal frame track.
The seat curve area is usually the most diffcult section. We will often use pliers or vise-grips, gripping on the thick seam area, to help pull the fabric through the track to the end
The excess spline should be sticking out an inch or so.

Use the Drill or Ratchet Set to Remove the side rail that you have just installed the sling on.
You will find 2 or 3 bolts on either side of the frame typically.
WD-40, or bolt realese oil may be needed for older or rusted bolts.
It is best to turn the chair on its side for stability. We use a battery drill to remove the bolts, but if
you don’t have one a Ratchet Set will work just fine.

Remove the curved (or straight) tension bars from the chair.
They are usually found on the tops of furniture and under the seat.

Insert the other side of the sling in the track, remembering to wiggle it in the beggining to get started, then feed in from the top and pull thru the curves to the bottom, using the pliers gripping on the seam if needed.


STEP SIX: FINISHING TOUCHES
Turn the chair on its side and insert the bolts.
A helpful hint is to loosen the bolts on one side to give some extra width.
We use clear grease and WD-40 as a lubricant for our bolts in the shop, Vaseline will work just as well. You may also want to use some form of spreader tool to aid in this move.
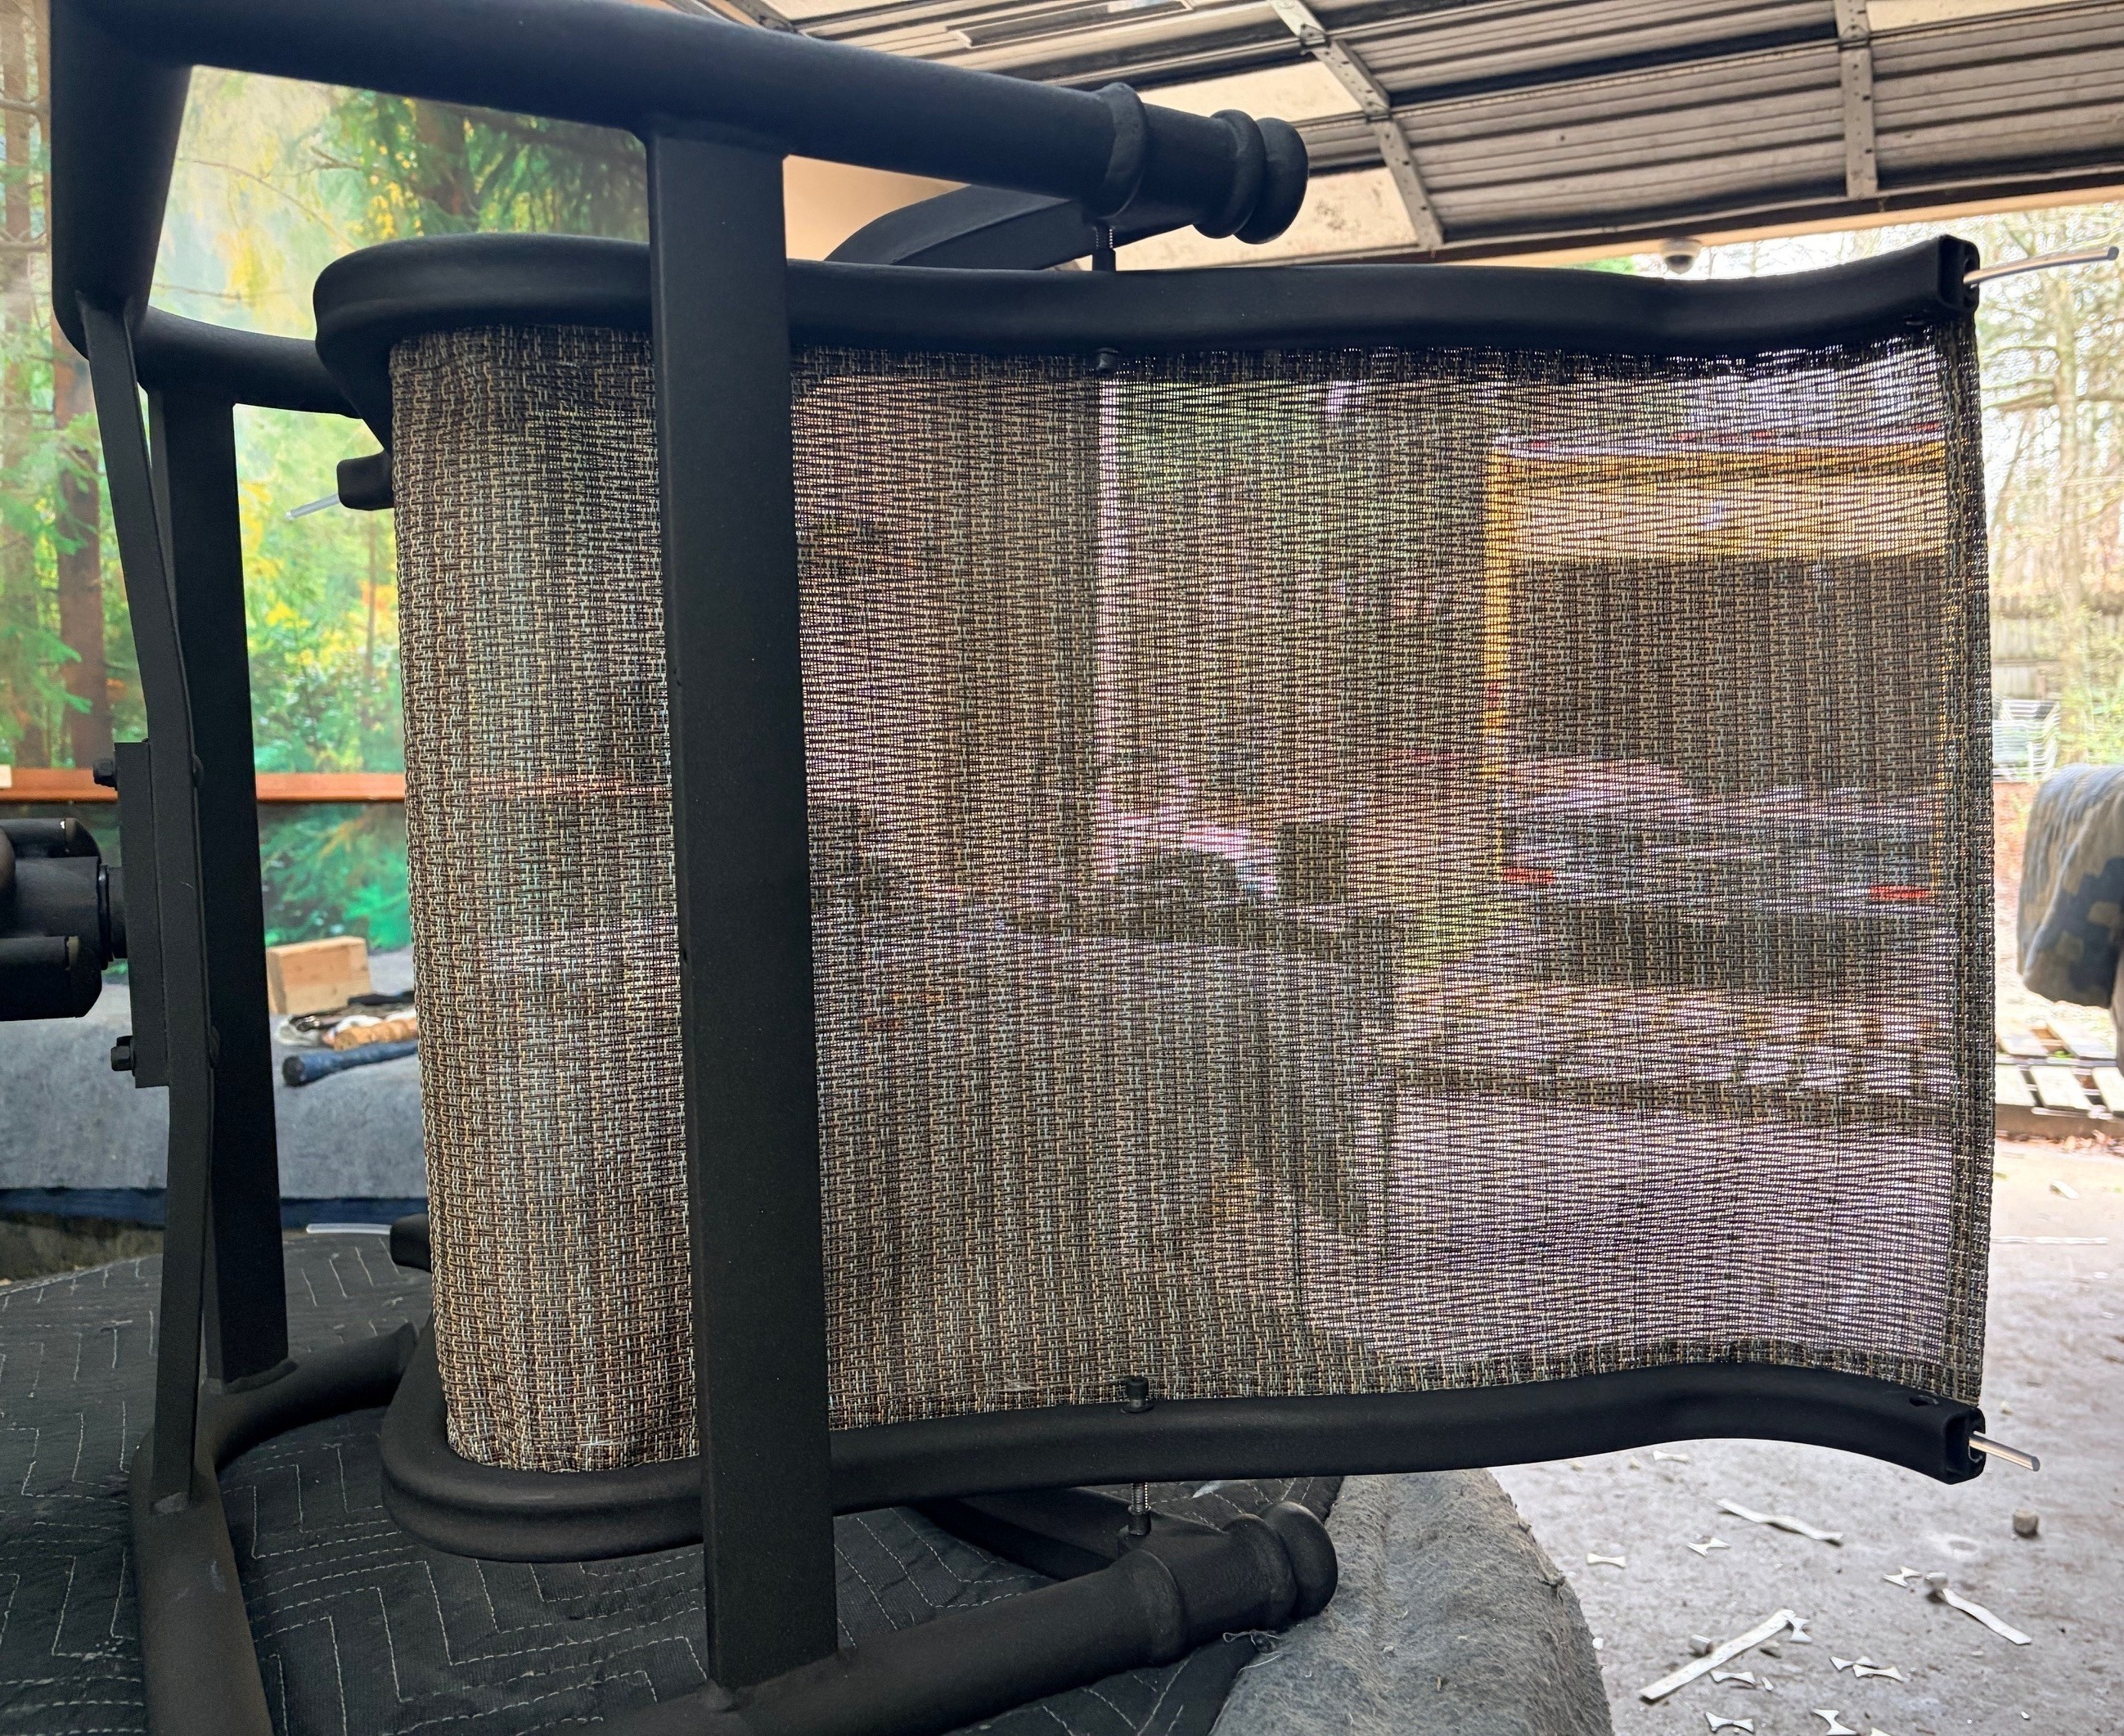
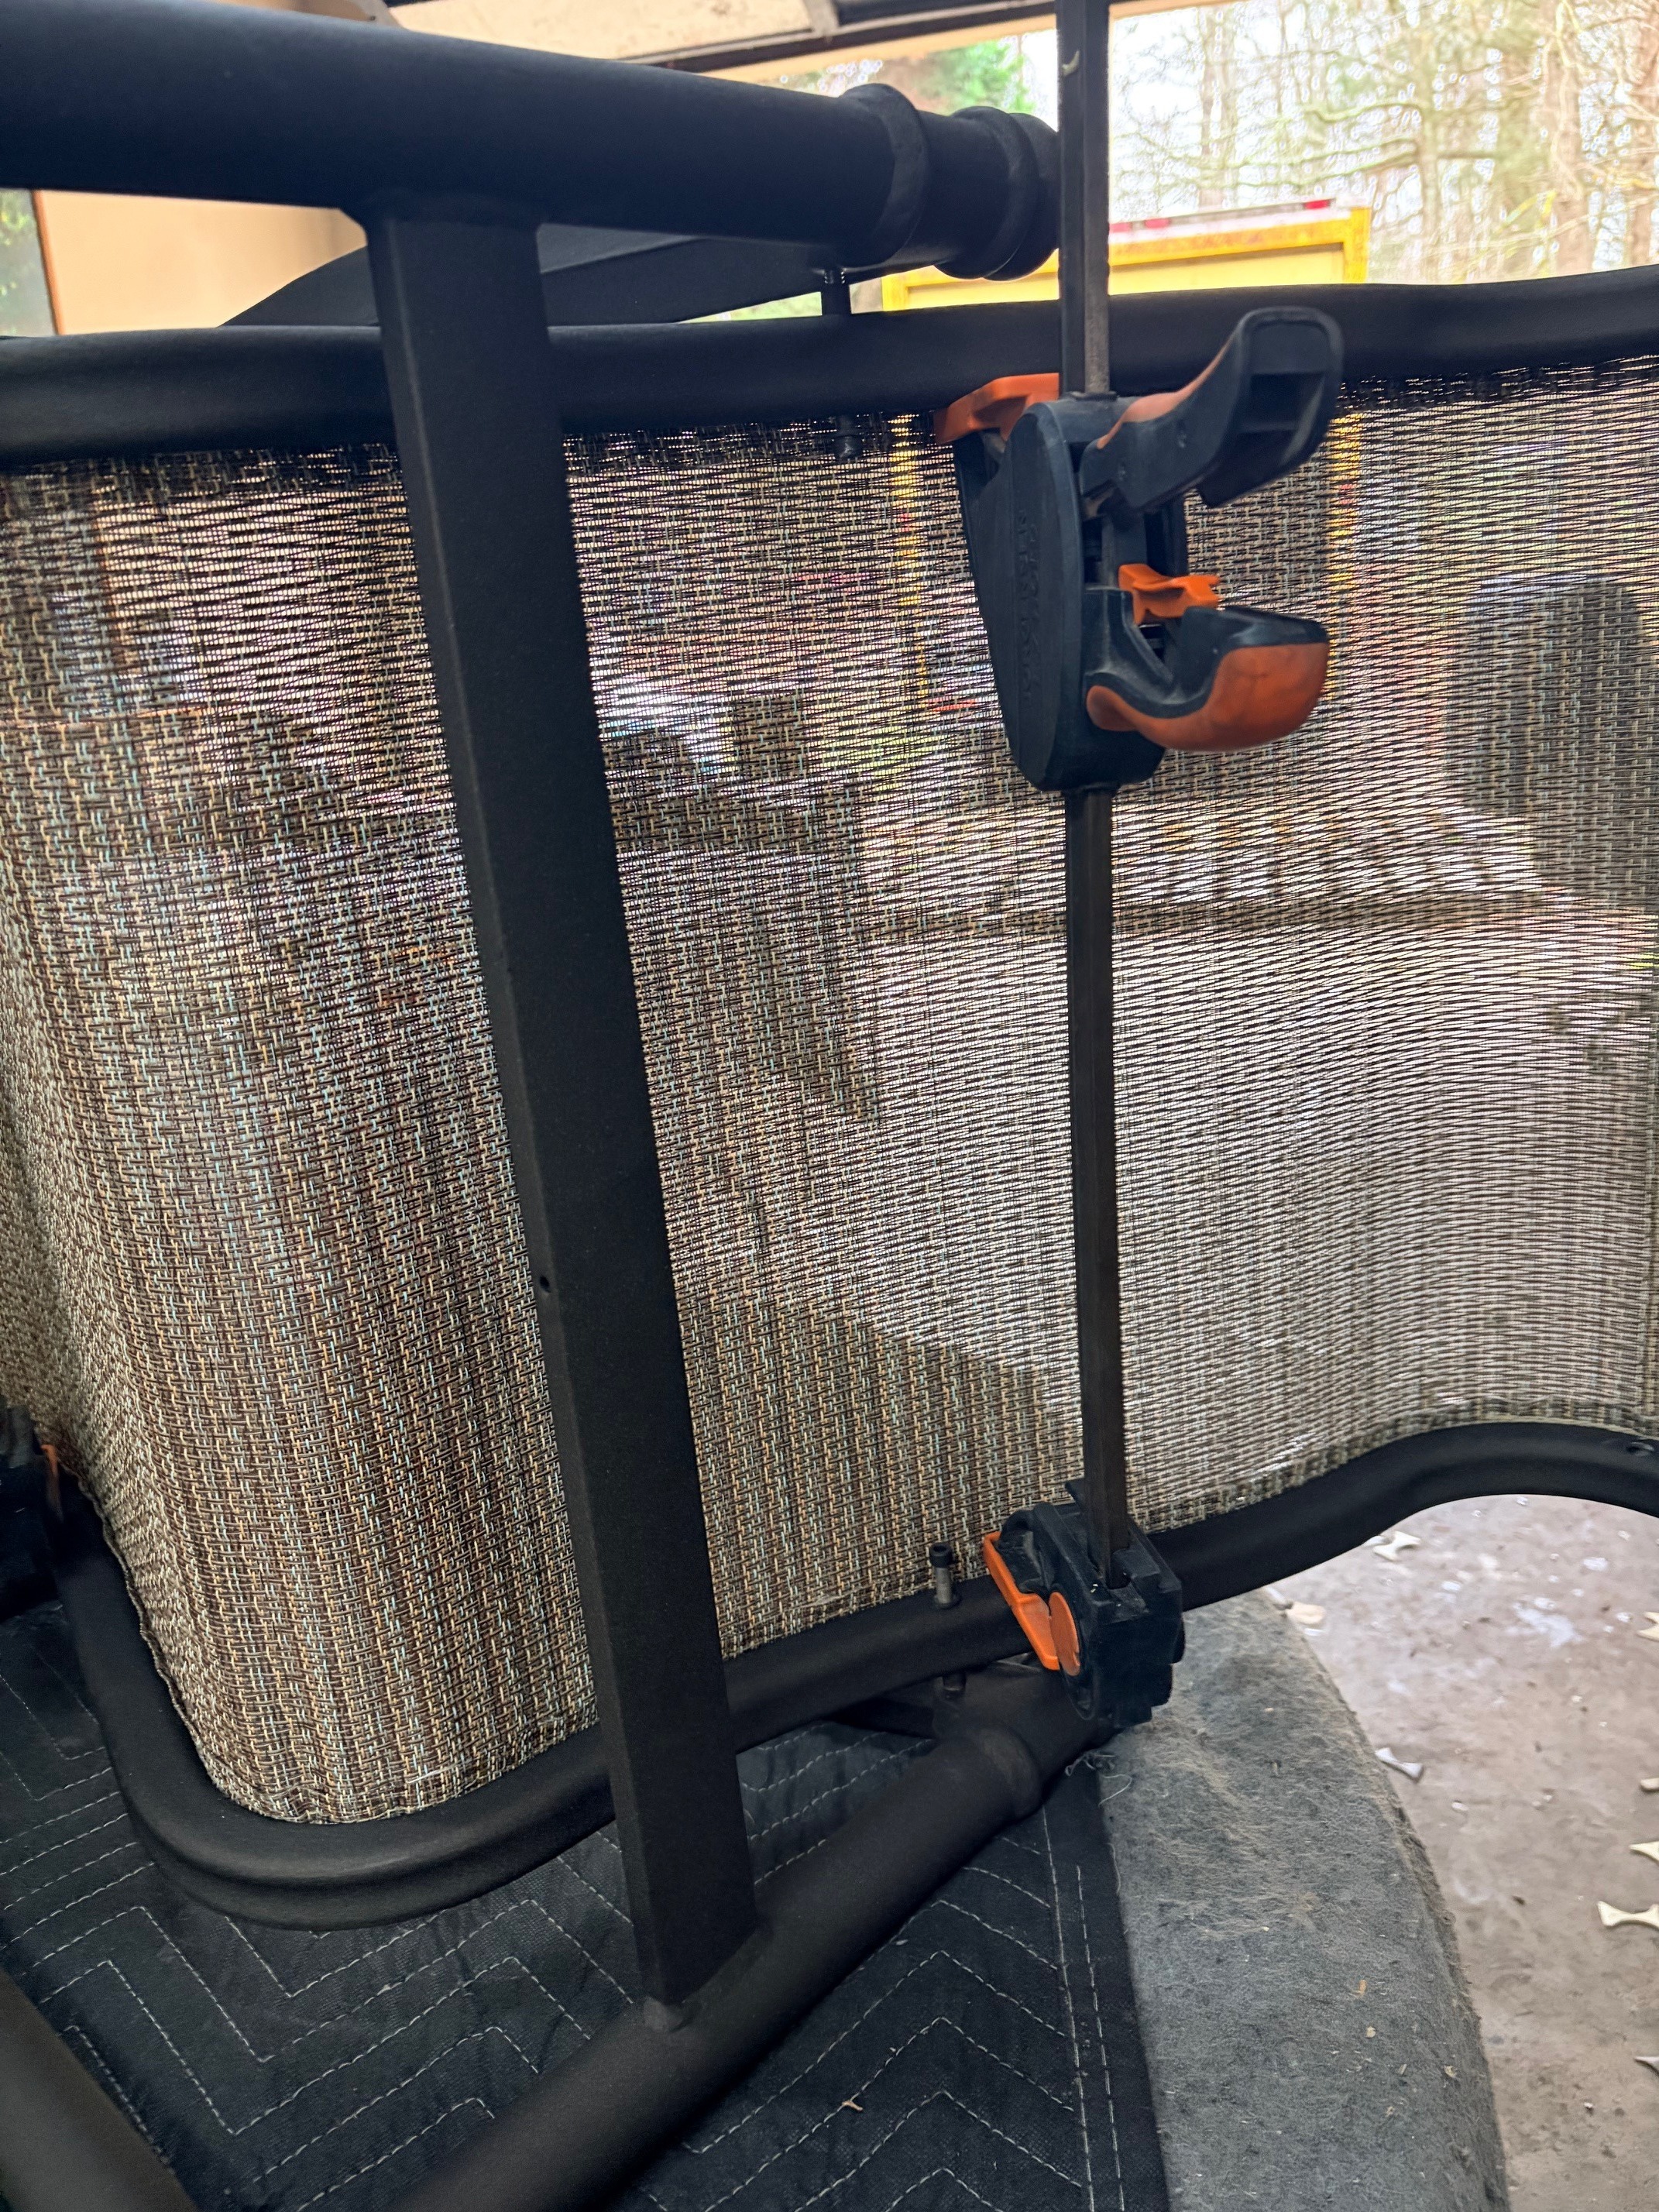
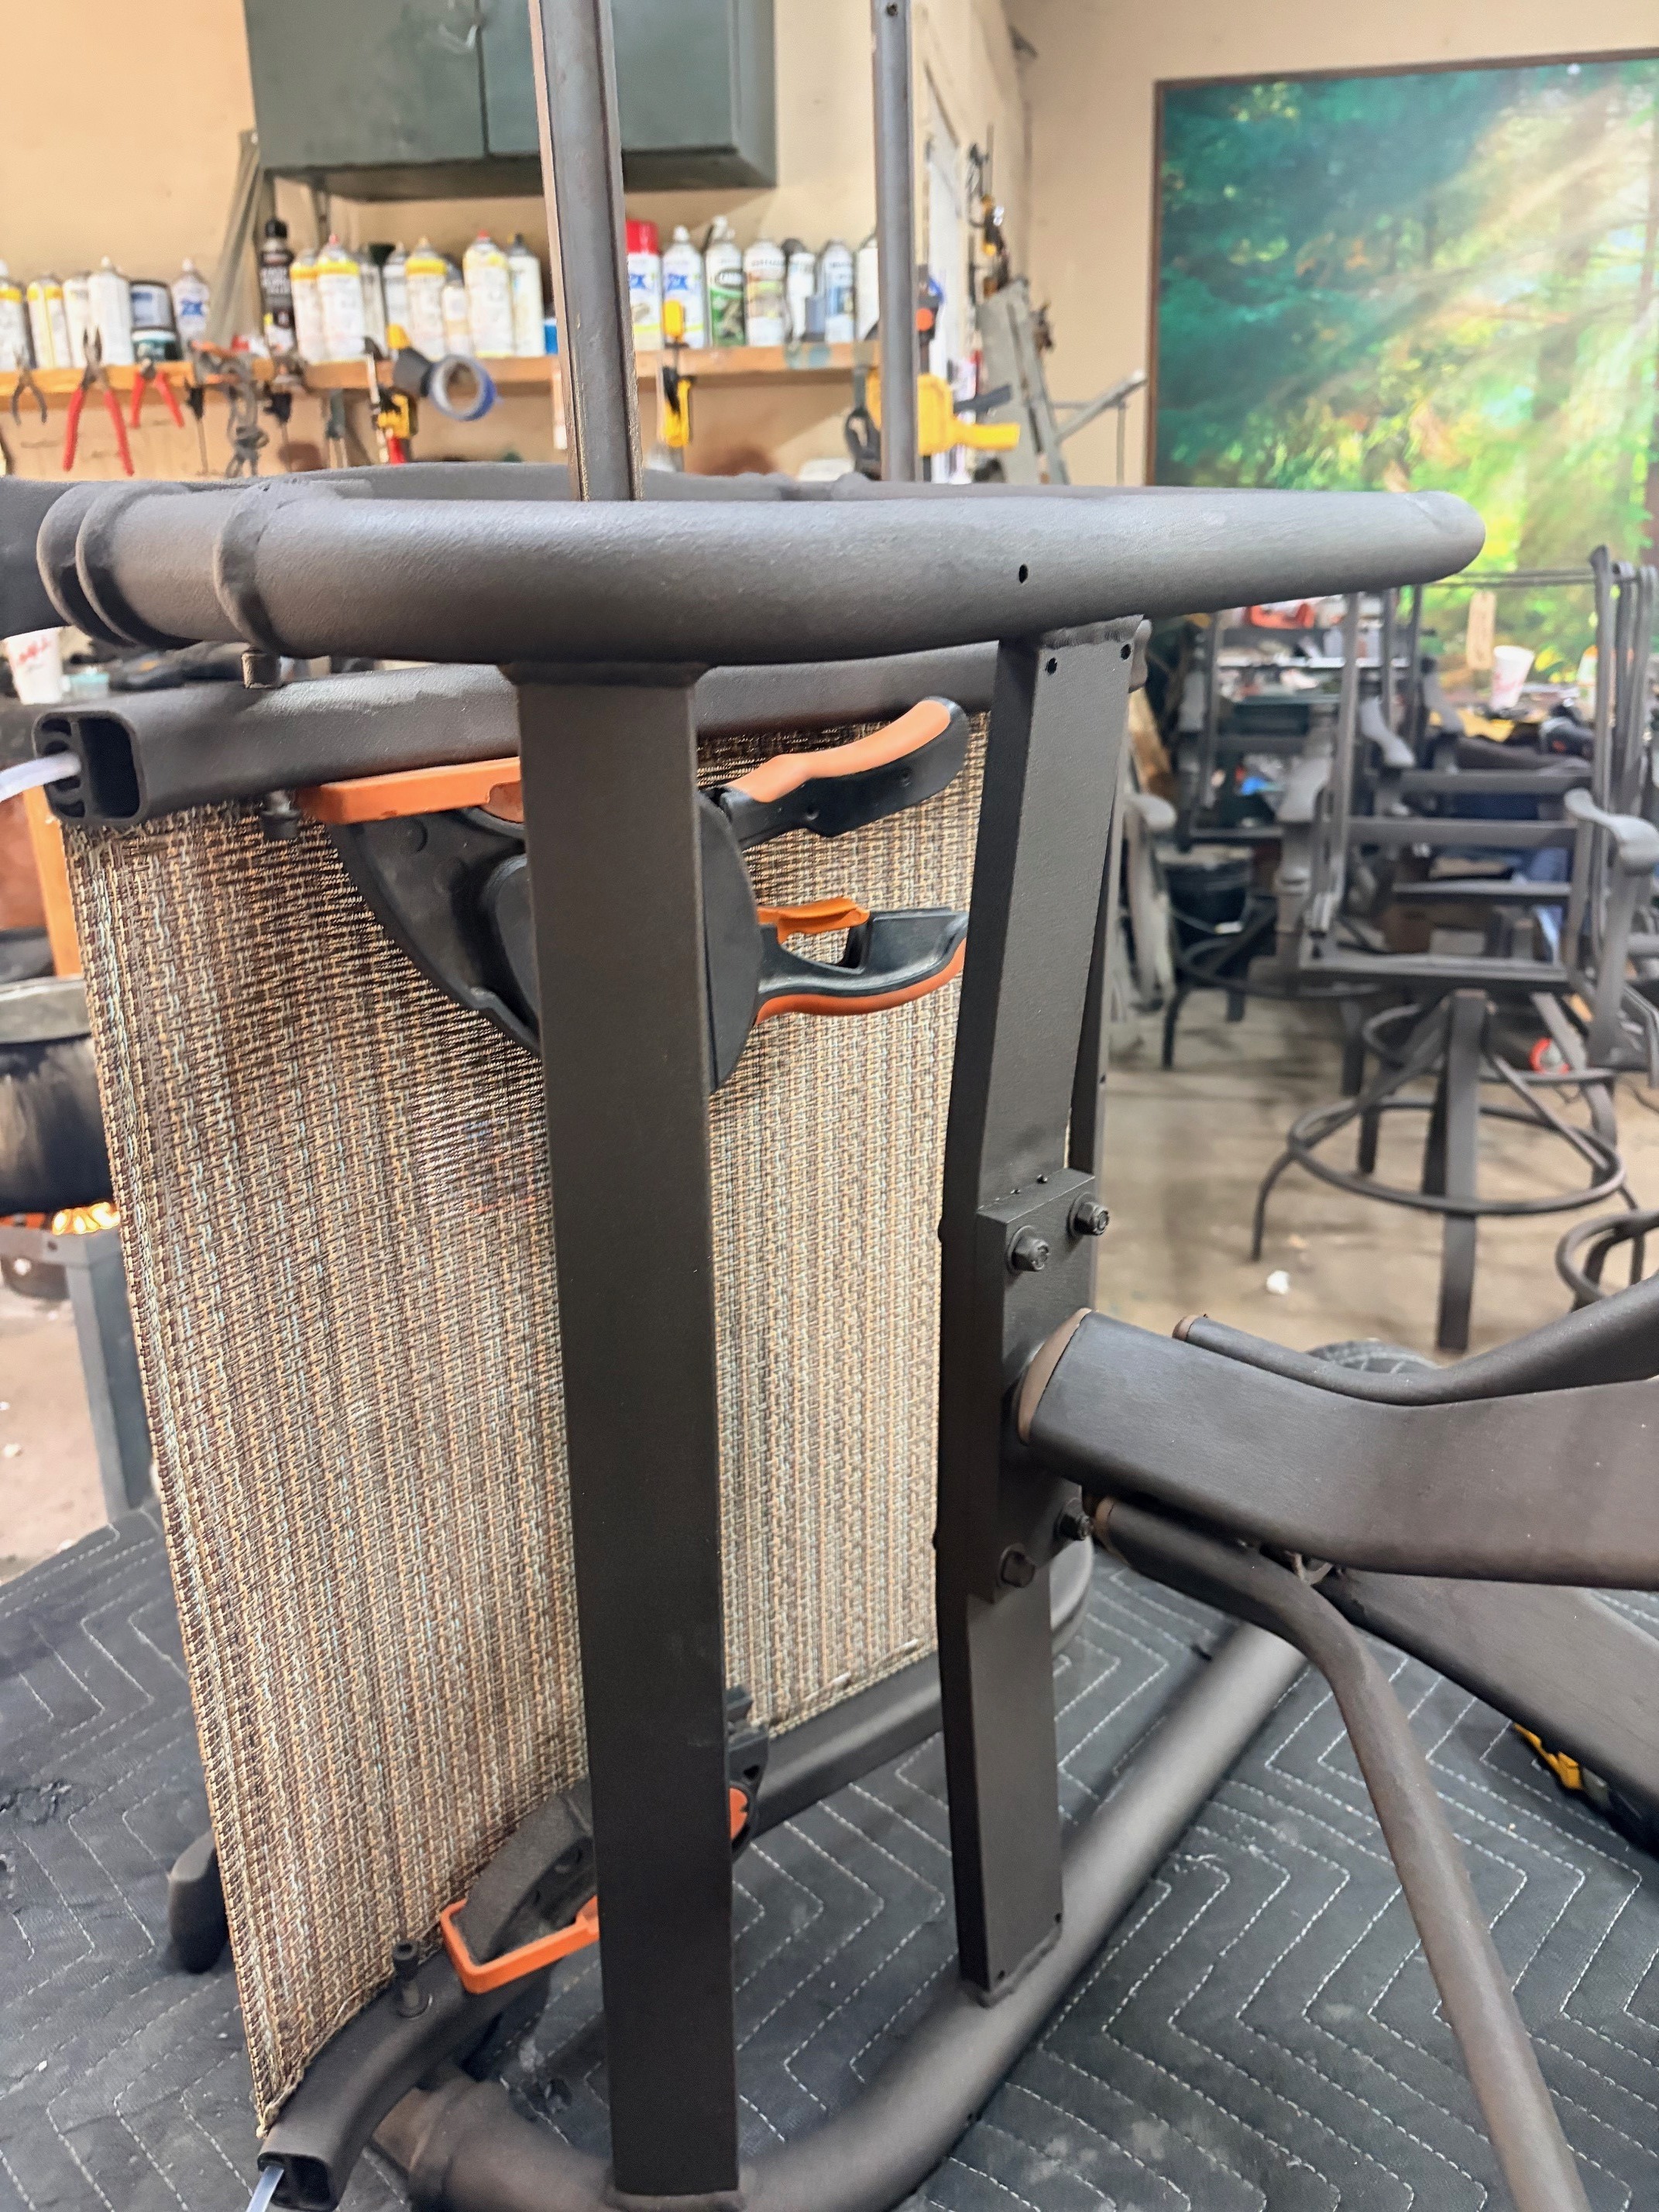
BELOW ARE SOME CLOSE UP IMAGES OF THE STANDARD SPACING BEFORE STRETCH AND PROPER TOOL PLACEMENT (the chair is laid on it's side for better leverage)
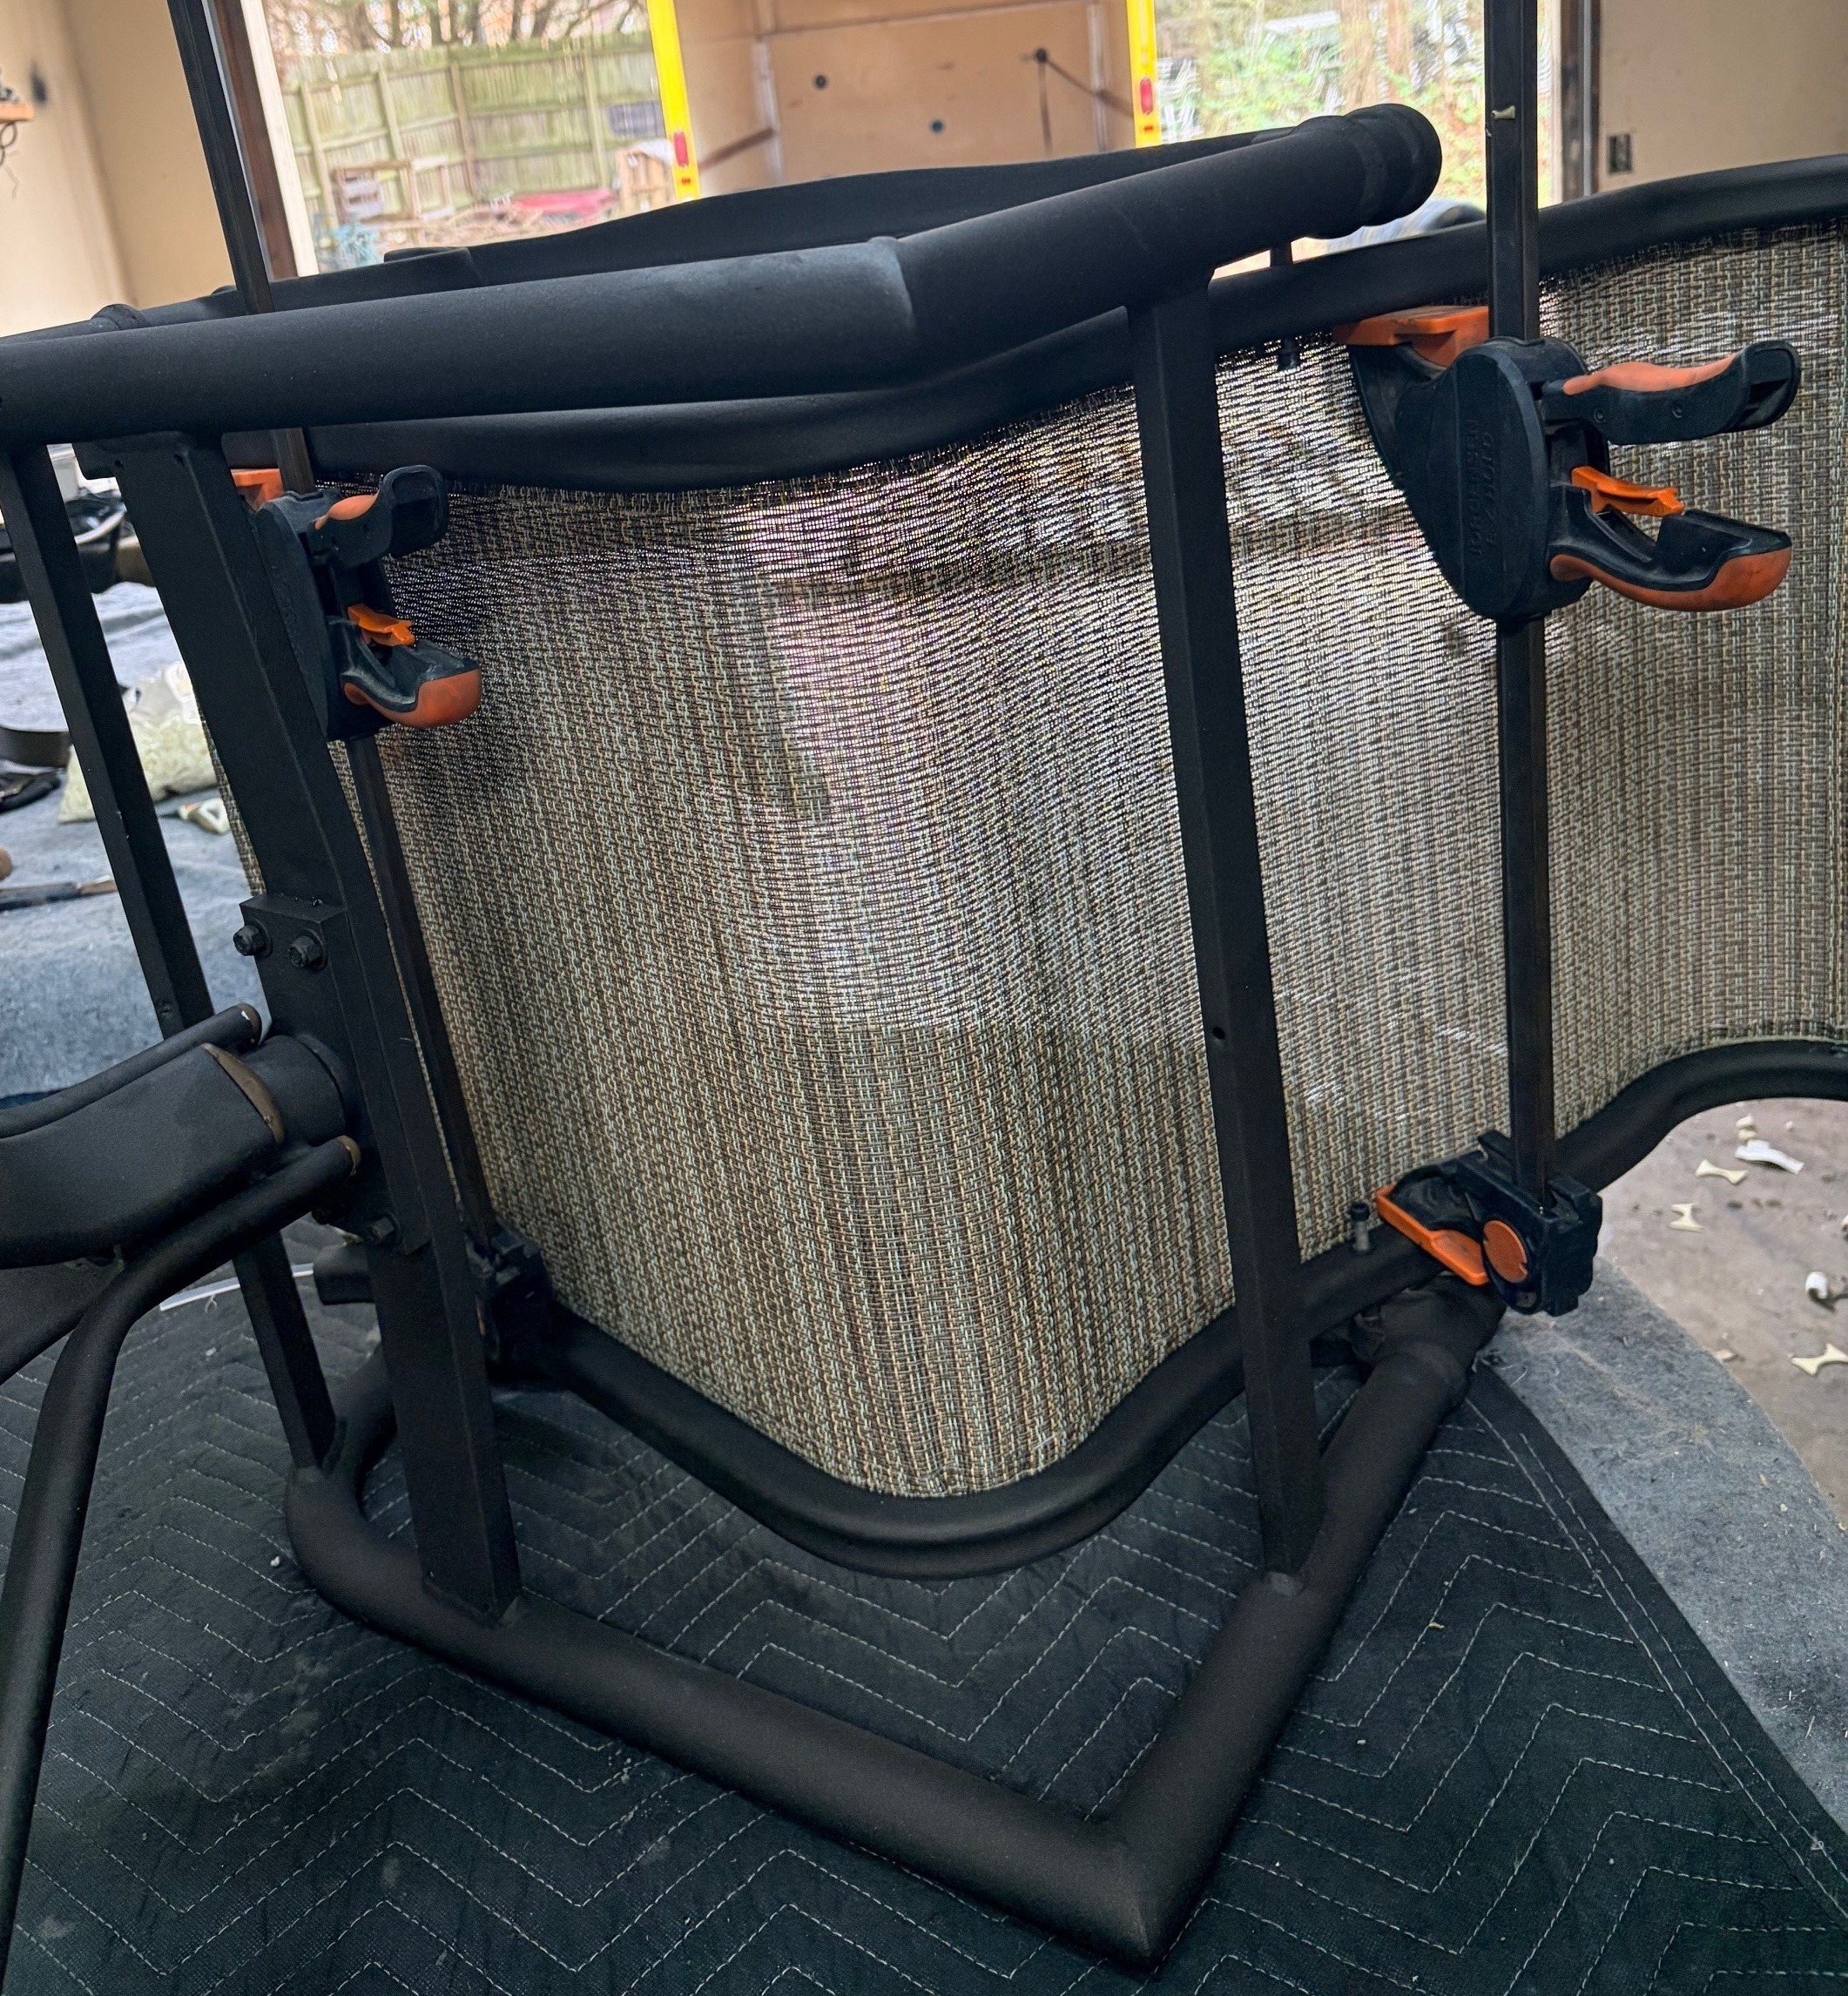

"CONTACT US" if you have any Questions,
OR SEND PICTURES TO ADDRESS BELOW:


Below we are using our Spreader Tool that we make and powdercoat here at our shop to stretch the fabric.
The new sling fabric will have to be stretched to install tension bars, and in most cases to aid in reinstalling the bolts for the side rails.
Some Kind of Stretching Tool is Needed in most cases.
See the bottom of our "LINKS" page for examples.
We refer to Finished Slings here in the shop as "Tennis Racket Tight" although its not quite that much.

Tension Bar Installed


Now its time to trim the excess spline. Use the wire cutters or snips to cut the excess spline as close to the end of the metal frame as possible.

Install the new end caps using the rubber mallet or similar.


You can have pretty nails and get the job done!!

STEP SEVEN: ENJOY!!
SEND US ANY QUESTIONS, ALONG WITH PHOTOS OF THE FURNITURE TO:
